Step by step guide to preserving and reviving your old photos:

Old photographs are precious mementos of our past, capturing moments, people and places that have since been forgotten. However, with time, these photos can become damaged, faded or discoloured. In this blog, we’ll take a step-by-step approach to reviving your old photos and preserving them for future generations.
1. Organise:

The first thing you need to do in order to breathe new life into your old photographs is to get them organised.
You may organise your photographs into piles or folders according to the subject matter, date, or kind of each picture. This will make it simpler for you to deal with your images and keep track of where they are at all times.
When you are organising, pay attention to the order in which you store your images; you may arrange them in chronological order, according to the subject matter, or by the people in the family.
Just be mindful that while handling the photos the might be exposed to damage, such as scratches and fingerprints.
2. Digitise and archive
It is essential to digitalise your prized images before beginning the process of restoring them, especially if they have suffered water damage. The end result of this process creates high-quality digital copies that may later be altered, improved, and printed. In addition, scanning your photographs provides you with the peace of mind that comes with knowing that you will always have a backup copy of the original prints in the event that anything should happen to them.
Use a scanner of a high quality and scan your photographs at a high resolution in order to get the best possible results from your efforts. Because of this, you may be certain that the digital copies are of the highest possible quality, also make sure you keep a cloud and a hard drive copy of the raw scans (preferably SSD) at least, there are amazing services such as google drive to do this.
Do you have an interest in learning more about how you can scan your images at home? Take a look at the article we just published for some helpful hints on scanning photographs at home. It has relevant information about this topic.
3. Clean and Prepare

After you have finished organising and digitising your collection of photographs, the following step is to clean them.
Over time, photographs may get covered in a variety of blemishes and blemishing agents, including fingerprints, dirt, and dust. Your photographs should be cleaned carefully using an air duster first, the if appropriate using a dry, soft brush or a gentle swap.
Do not use water or chemicals on your images since either might potentially ruin them. Be sure to clean the images gently, and avoid applying too much pressure to the fragile surface, as this might cause damage to the photograph, remember dust and scratches are related to friction .
This step will also assist you in preserving your old photos
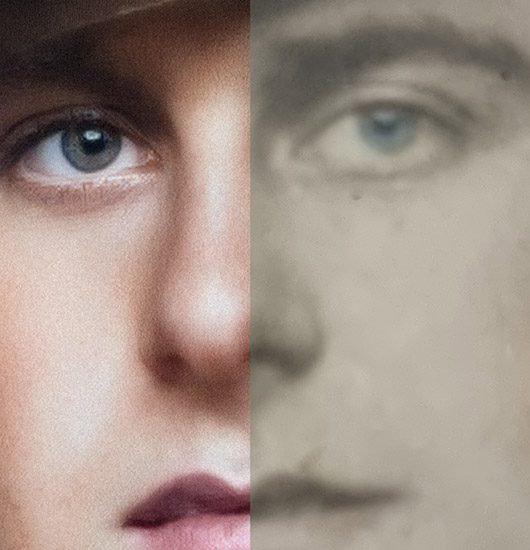
4. Restore

After you have cleaned your photographs, the following step is to repair any damage that may have been caused. If your photographs have rips, cracks, or missing portions, you may have them repaired by using photo editing software or by hiring a professional photo restorer. In addition, if your photographs have become dull or yellowed over the course of time, restoration may help bring back the vivid colours that they once had. Scratches and imperfections on the surface of the photograph may be removed with the assistance of photo restoration software as well as photo restoration specialists.
5. Enhance
Once your photographs have been brought back to an acceptable state, you can choose to improve them.
You may improve the clarity and vibrancy of your images by adjusting the brightness, contrast, and colour balance of them with editing software for photographs or software that enhances artificial intelligence.
However, it is essential to keep in mind that the human touch is absolutely necessary for this procedure, since AI has the potential to alter images and even distort facial features.
Nevertheless, artificial intelligence software could be a good place to begin. You may also enhance the photographs to make the details in them stand out more clearly. You may alter the brightness and contrast of any sections in your photographs that are either too dark or too light in order to bring out the details in such regions.
6. Re-Print

Printing your photographs on fine art paper of the highest quality will breathe new life into them and give them a longer shelf life.
The use of excellent art paper will extend the life of your prints and ensure that they continue to maintain their vivid appearance for many years to come.
When you print your images, be sure to pick the appropriate size and format for them by taking into account where they will be exhibited or where they will be kept.
If you have a significant number of photographs, you may want to think about having them printed and bound in a picture book or album.
7. Archive

After restoring and improving the quality of your photographs, the next step is to archive them in the appropriate manner so that they may be enjoyed by future generations.
Keep your physical prints /photographs in an album or box designed for archival storage to prevent any harm from occurring to them and to ensure their safety.
To make it easier for you to keep track of your collection, label the photographs with the date they were taken, the topic of the photograph, and any other pertinent information.
You also have the option of storing your fully restored photographs in the cloud, which will make them both simple to retrieve and automatically backed up.
Keep in mind that antique photographs are a window into the past; they capture events and experiences that cannot be recreated and are thus priceless. You are helping to preserve a piece of your family’s history when you bring your old photographs back to life so that they may be handed down from one generation to the next. Therefore, now is the day to bring your memories back to life by giving your old photographs a new lease of life and of course sharing them with your beloved or why not even historians.
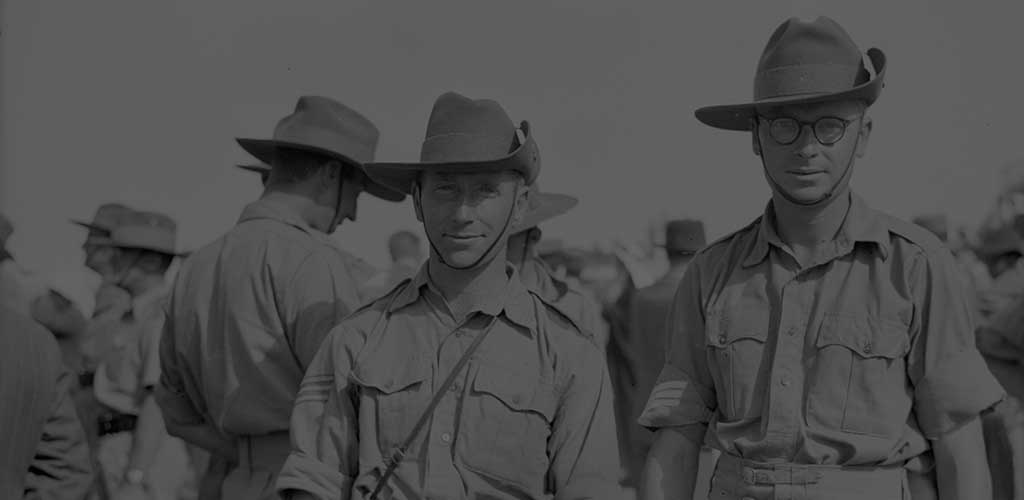
Recommend post: Veteran history photo restoration
Photography is a wonderful way to reconnect with the past and preserve precious memories for future generations. By following the steps outlined in this guide, you can bring your old photos back to life, restoring them to their former glory and preserving them for years to come.
Whether you choose to do it yourself or engage a professional, taking the time to revive your old photos is a meaningful and rewarding experience that will help keep your memories alive. So, gather your old photos, and let’s start the journey to preserve your precious legacy.
Feel free to contact us for a free and no obligation damage assessment of any photograph you want us to restore on a professional level, or follow our photo restoration price guideline to understand the cost and extents of our services.
Furthermore if you want to create new memories, please visit our professional photography services page

Get in touch
CONTACT INFO
Phone: +61 497 859 034
Address: 15-17 William St. Perth WA 6000
po*****@************om.au