TIPS TO REMOVE PAPER TEXTURE FROM OLD PHOTOS

Many people want to remove paper texture from an old photo after scanning it. For photo restoration beginners, this is often one of the most time-consuming jobs.
Fortunately, some useful methods and algorithms can reduce or even remove the patterns found on vintage photo papers, especially those used in the late 1970s.
So if you are scanning a photo yourself or plan to restore it at home, the tips below will help you get better results. You can also read more about photo restoration and photo restoration pricing on our photography blog.

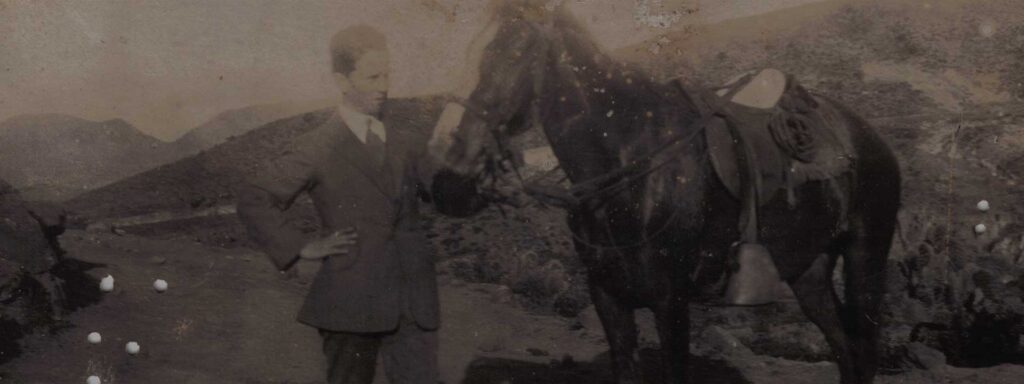
 BeforeAfter↔
1. CHECK FOR THE PHOTO NEGATIVE
Before scanning an old photo, start with the basics. Perhaps you or a family member still has the negative. Removing texture from a print is not easy, so if you take the time to find the film, you can save yourself hours of digital photo restoration.
People often ask us whether it is better to scan from negatives or from prints. The short answer is that it depends. Still, to avoid paper patterns altogether, the negative is the way to go.
However, it is vital to assess the condition of the negative first. Choose the source that will save you the most time and effort. After all, negatives can also be full of dust and scratches, which makes restoring from them a challenge too.
In our experience, a hybrid approach works well when both the negative and the print are damaged.
And yes, we can scan negatives for you!

Looking for other sources is good photo restoration practice. It is also a chance to connect with your family history and find other lost treasures.
2. SCAN THE PHOTO FOUR TIMES TO REDUCE PAPER TEXTURE
Scanning a photo four times at different angles is one of the oldest tricks in the book. Even so, it is still a great way to get the most out of a textured print when you scan at home.
First, scan the photo once. Next, rotate it 90 degrees on the flatbed and scan again with the same settings. Then repeat until you have four scans, each at a further 90 degrees.
Also, turn off any automatic adjustments, such as auto-exposure and auto-levels. That way, you keep full control of the scan.
Once you finish the photo digitisation, combine the four scans in Photoshop. Then use the Darken blending mode to remove the highlights, because they cause the problem.
Why does this work? No matter how good your scanner is, light bounces off the texture at a different angle in each scan. As a result, each scan is slightly different, and combining them reduces the surface pattern. Unfortunately, it often won’t remove it completely, but it is worth a try.
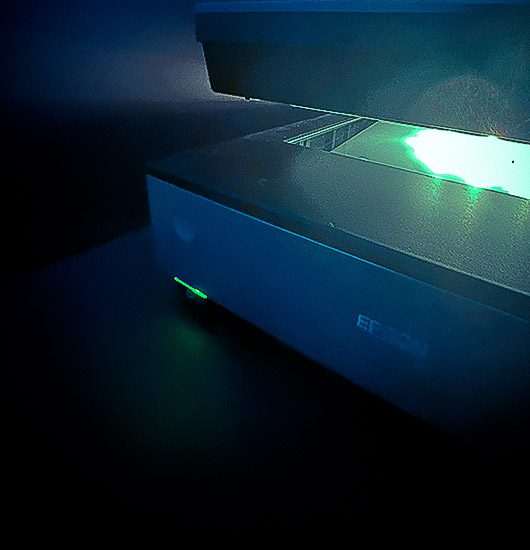
Read our tips to scan photos at home for photo restoration and photo duplication.
3. FFT FILTER (FAST FOURIER TRANSFORM)
In digital image restoration, the Fast Fourier Transform (FFT) examines the frequencies in a picture. It then helps you remove unwanted noise or artefacts.
The FFT converts a picture from the spatial domain to the frequency domain. Normally, we see an image as a two-dimensional grid of pixels. In the frequency domain, however, it is simple to find and remove unwanted high-frequency parts, such as noise or motion blur.
Restorers often pair the FFT with a Wiener filter to correct an image.
The Wiener filter is a linear filter that repairs pictures damaged by noise and blur. It assumes that the signal and the noise behave in a stable, predictable way.
In short, the Wiener filter uses the FFT to estimate both the noise and the power spectrum of the picture. Then a frequency-based filter removes the noise.
The FFT also helps to sharpen blurry pictures through inverse filtering and deconvolution. Keep in mind, though, that the FFT is complex. It needs a lot of time and computing power on large pictures.
For this reason, restorers often combine FFT methods with other techniques, such as spatial filtering, to reduce the workload.
Above all, FFT filters are an advanced way to suppress patterns in photos. In fact, some FFT algorithms read patterns so well that experts even use them for forensic photo analysis.

How FFT filters help remove paper texture
Today, this technology is partly available for photo editing, and it is very useful.
Thanks to partly automated tools and expert input, it has never been easier to find and remove textures, fingermarks, patterns and noise in a photograph.
FFT algorithms and Photoshop techniques, such as frequency separation and channel blending, are proven ways to reduce or even remove paper texture from old photographs.
However, these methods still depend heavily on human judgement.
FFT processing is unique because it can identify and reverse the patterns that hide the image. In other words, it separates the picture from the noise.
An FFT filter finds regular patterns and then reverses them. For the public, it is the best tool available today.
To learn more about FFT, or to download the free plugin, visit FFT Fast Fourier Transform and pattern suppression.
4. FREQUENCY SEPARATION
Frequency separation is another pattern suppression technique. It separates textures from the background, and it works like an inverted high-pass filter.
The process splits the image into layers by frequency. As a result, you can edit fine detail and broad tones separately.
For example, you can clean up the texture in one layer and fix the background in another. This is useful for patching and healing, because you keep the tones even without disturbing the texture.
To learn more about frequency separation, watch this helpful video by PHLEARN.
CHOOSE HOW TO REMOVE PAPER TEXTURE
You can remove or reduce repeating patterns with Adobe Photoshop and a range of plugins, filters and actions. Used well, they remove regular patterns quickly and with excellent quality.
However, good photo restoration means knowing which path to take. In Photoshop, many different workflows can give excellent results.
Our advice is to take your time. First, assess the damage and what the restoration needs. Then start work. That way, you save time, avoid getting stuck and get the best result.

IS THERE AN FFT FILTER FOR MAC TO REMOVE PAPER TEXTURE?
There are excellent FFT software tools, plugins and actions for PC that suppress repeating patterns. Unfortunately, the options for Mac are limited. Some need a special installation, and others are simply old. Some are also quite technical to run. Even so, here are a few tools worth trying:
Have you tried these plugins, or do you know another one that could help the restoration community? Email us at po*****@************om.au and tell us about your experience.
General information only. Before you try anything on an original, request a free damage assessment.