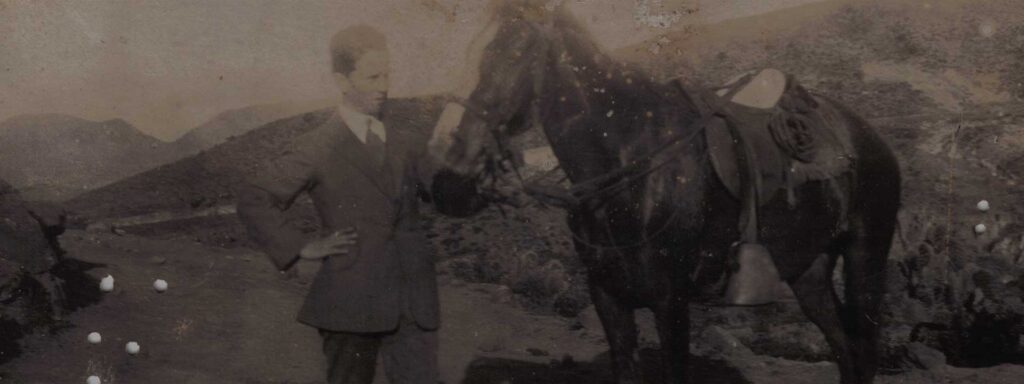
After a house fire or bushfire, the family photographs are often the first thing people ask about once everyone is safe. Fire damaged photos can be surprisingly tough, but soot, heat and the water used to put the fire out each harm them in different ways, and the wrong kind of help can make the damage worse.
This guide brings together the steps that Australian conservation bodies recommend for fire damaged photos, with notes from our own restoration work. It is first aid: the aim is to stop further damage and buy time until you can get proper help. If your photos are wet, start with our guide to water damaged photos, because wet photos need attention first.
1. Look after yourself first
- People and pets matter more than photographs. Only return to a property when the authorities say it is safe.
- Wear disposable or rubber gloves. In mouldy, smoky or sooty spaces, wear a P2 mask and eye protection.
- Follow your local council's advice about handling ash and fire debris.
- Wash your hands well, and do not eat or drink while you work.
2. Record the damage for your insurer
Before you move or treat anything, photograph the damaged items where they are, and keep everything until your insurer tells you what they need. Private conservators can provide quotes for treatment that you can use in a claim.
3. How fire damages photos: soot, heat and water
A photograph has an image layer, called the emulsion, sitting on paper, plastic or film. Fire affects it in three ways, and one photo can have all three.
- Soot and smoke. A greasy, gritty film settles on the surface and yellows or darkens the image. Soot is abrasive, and the longer it sits, the harder it is to remove.
- Heat. Even without flames, heat can curl, crack, blister or melt the emulsion. It can fuse photos together, or onto the glass of a frame.
- Water. Water from firefighting often soaks whatever the fire didn’t reach. Wet photos need drying or freezing within about 48 hours.
4. First steps for fire damaged photos
Work slowly and gently. The aim is to keep each photo stable, not to clean it.
- Wait until the site is declared safe. Follow your council’s advice before you sift through ash and debris.
- Wear gloves. Skin oils can bind soot into the surface of a photo for good.
- Deal with wet photos first. Follow our water damaged photos guide, then come back to soot and heat damage.
- Lift photos by the edges and keep them flat. Slide a piece of card underneath anything fragile, and don’t press on blistered or lifting areas.
- Store them in a clean box. Put plain paper between photos, and keep sooty items apart from clean ones so the soot doesn’t spread.
- Air out smoke smell. Leave photos in a clean, dry, well-ventilated room. Don’t use sprays, deodorisers or perfumes.
5. Photos stuck to glass, fused or melted
Heat damage is physical, so it can’t be undone on the original. What we can do is save the image.
- Stuck to the glass of a frame: leave it in the frame. Our first step is to keep the image safe, and we can often digitise it through the glass before anything else is tried.
- Fused together: don’t try to separate photos that heat has stuck together. Keep the stack flat and get advice.
- In albums: keep the album closed and flat, and support it from underneath when you move it. Don’t pull pages apart.
- Curled, warped or melted: don’t try to flatten them. A distorted photo can be photographed rather than scanned, and the copy restored by hand.
6. What not to do
- Don’t wipe, brush or blow soot off the image.
- Don’t use water, household cleaners, alcohol or solvents to clean soot.
- Don’t try to flatten curled or warped photos.
- Don’t force fused photos apart or peel them off glass.
- Don’t use heat, sprays or deodorisers.
- Don’t laminate, tape or glue damaged photos.
- Don’t throw photos out too soon. Even badly damaged prints can often be scanned and restored digitally.
7. When to get professional help
To treat the original photograph, contact a conservator. The Australian Institute for the Conservation of Cultural Material (AICCM) lists private conservators, and state libraries and cultural institutions often give free phone advice after disasters.
To recover the image, that is our work. Once a photo is dry and stable, we scan it carefully and restore it by hand on a digital copy, so the original is never altered. Send us a picture of the damaged photo through our free damage assessment, and we will tell you honestly what can be recovered. We work with families Australia-wide by post.
8. Make a copy before the next bushfire season
The best protection is a digital copy kept somewhere else, such as cloud storage or a relative’s home. If you live in a bushfire area, put your most precious albums where you can grab them quickly, and add them to your bushfire survival plan. If your collection hasn’t been digitised yet, our photo scanning and photo album scanning services can help.