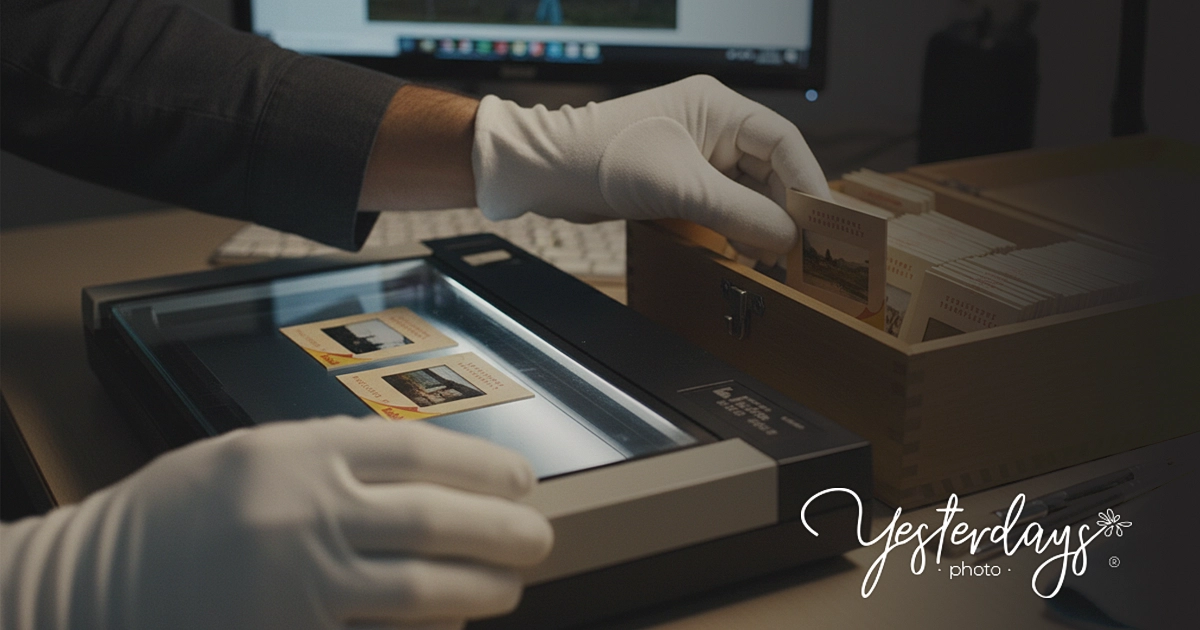
On common Epson flatbed film scanners, such as the Perfection V600 and V850, mounted slides scan with the shiny film side facing down towards the glass. The correct orientation still depends on your scanner and holder, so identify the film surfaces, follow the holder's loading diagram and check one saved scan before you process the whole collection.
That small check can save hours when you are working through a box of family slides. It also separates three different issues: loading the slide correctly, keeping the image upright and making sure it is not mirrored.
This guide walks you through scanning slides at home, from identifying the correct side to saving files your family can use. If you are not sure whether you have slides or negatives, start with our slide and film format identification guide.
How to scan slides: the short version
- Check your equipment. You need a film scanner, or a flatbed with a transparency light source and a slide holder.
- Remove loose dust with a photographic hand blower, holding each slide by its mount.
- Find the shiny side (the film base) and the duller emulsion side.
- Load the holder exactly as its diagram shows. On Epson V600 and V850 holders, that means shiny side down.
- Choose film or transparency mode and positive film.
- Test 2400 and 3200 ppi and save a TIFF master.
- Check one full scan at 100% for direction, crop and detail before scanning the rest.
What is a photographic slide?
A slide, also called a transparency, is a positive photograph on transparent film, usually held in a cardboard or plastic mount. When light passes through it, you see the scene directly. A negative is different: its tones and colours must be converted to produce a normal-looking image. Our guide on how to scan negatives covers film strips.
Most family collections contain mounted 35mm slides, but other formats exist, including 126, 127, 120 and 110. Check that your holder accepts the actual format rather than forcing an unusual mount into a standard slot.

A 35mm Kodachrome slide in its cardboard mount, from our own family collection.
How to identify the shiny side and the emulsion side
Film has two surfaces. The base is the clear supporting layer, and it usually looks smoother and shinier. The emulsion carries the image-forming layers, and it often looks duller or shows a faint texture when viewed at an angle.
Hold the slide by its mount under a soft light and tilt it gently. Compare the reflections on each surface. Some films show a clearer difference than others, so treat this as a useful clue rather than an infallible test.
Do not touch or scratch the film to work out which surface is which. The printed side of a cardboard mount is not a reliable guide either: slides were sometimes remounted, and mount designs vary.
Which side of a slide faces the scanner?
Use the instructions for your scanner's slide holder as the final reference. Epson's Perfection V600 and V800/V850 guides both place mounted slides shiny side down.
Dedicated film scanners, camera copying systems and replacement holders can be loaded differently. Up and down may not even be useful descriptions when a holder feeds vertically or sideways. Follow the illustration for your specific device.
A quick check from above: on both of those Epson models, once a slide is loaded correctly, any lettering within the scene looks backwards when you look down at the holder. If it reads normally, the slide is probably upside down in the holder.
Facing the glass does not mean touching it. Use the holder as designed rather than pressing bare film onto the scanner bed.
What you need to digitise slides at home
You need equipment that shines light through the film. A standard document scanner without a transparency light source is not designed for this job.
Common approaches include:
- a flatbed scanner with film capability and a slide holder
- a dedicated film scanner
- a camera copying setup with a macro lens, a stable support and even backlighting

For a first project, prepare a small test group rather than the entire box. Choose a bright scene, a dark scene and a photograph with fine detail. A slide with a sign or other lettering makes it easier to spot a mirrored result.
Prepare the slides without losing their history
Keep the original order, and photograph any box labels before you move the contents. The sequence often tells the story of a trip or a year in a way that filenames cannot recover later.
Handle slides by their mounts on a clean, dry surface. A clean photographic hand blower can lift loose dust from sound film. Avoid blowing with your mouth, rubbing the surface or using household cleaning products. Mould, sticky deposits and film stuck to glass need assessment before any cleaning.
Choose a naming system that connects each scan to its original, such as Box02_Slide015. Record names, dates and places when you know them, and label uncertain details as uncertain. An honest "date unknown" is more useful than a guessed year that later becomes family history.
Choose the right slide scanning settings
Menu names vary between scanners and software, but the decisions are similar.
- Original type: film, transparency or slide, not a reflective paper photo.
- Film type: positive film, for conventional slides.
- Resolution: match the intended use and compare test scans (see below).
- Master file: TIFF, uncompressed or with lossless compression.
- Sharing copy: a high-quality JPEG exported after editing.
- Corrections: test sharpening, colour restoration and dust removal one at a time.
What resolution should you scan 35mm slides at?
On a capable scanner, 2400 to 3200 ppi at original film size is a practical starting point for 35mm slides. It is not a universal optimum: your equipment, the detail in the original and how you plan to use the files decide whether a higher setting is worth it. Scanner software often labels this setting dpi; for scanning film, the two terms describe the same sampling rate.
At 3200 ppi, a nominal 36 × 24 mm frame produces about 4535 × 3024 pixels before cropping. At 300 ppi it produces only about 425 × 283 pixels. These are calculated dimensions, not measures of sharpness. A "300 dpi" print requirement should not be confused with scanning a tiny piece of film at 300 ppi.
More pixels cannot fix an out-of-focus original. Compare real detail and scanning time before choosing the largest setting for every slide.
Check a full scan before starting a batch
The preview helps you locate the image, but a saved full-resolution scan is the real quality check. Look at it at 100% view, then view the whole photograph at a normal size.
Check the crop, fine detail, shadows, bright areas, colour and image direction. Make sure an automatic crop has not removed part of the photograph because it misread the edge of the mount.
A rotated image and a mirrored image are different problems. Rotation makes an image upright; a horizontal flip swaps left and right. Text within the photographed scene, such as a shop sign or number plate, is the best reference. Writing on the mount is not part of the scene.
Common problems when scanning old slides
The scan looks too dark
Check the film mode, the transparency light source and any removable document backing your scanner manual mentions. If the setup is correct, the slide itself may be dense or underexposed. Brightening can reveal information the scan captured, but it cannot recreate detail that was never recorded.
The result looks soft
Check that the slide is seated correctly in the holder, then compare several originals. The camera photograph may already be soft. Strong sharpening can create outlines and exaggerate grain without recovering missing detail.
Automatic dust removal changes the image
Compare a corrected and an uncorrected version. Infrared dust removal does not work equally well with every film. For example, Epson lists Kodachrome as an exception among the positive films supported by DIGITAL ICE on the V800/V850. Confirm compatibility rather than assuming every software option suits your slides.
Faded colours become unnatural
Automatic colour restoration may help one frame and distort the next. Keep the first scan as your master and edit a separate copy. Judge skin tones and familiar objects carefully, and do not treat extra saturation as proof of accuracy. Slides with mould, scratches or heavy fading may need photo restoration after scanning.
Frequently asked questions about scanning slides
Is the shiny side of a slide always down?
No. Shiny side down is the documented arrangement on several common flatbed film scanners, including the Epson V600 and V850, but it is not a rule for every device. Check the diagram for your holder.
Should I remove slides from their mounts?
Usually not, if a sound mount fits the correct holder. Removing it adds handling and can separate the image from notes written on the mount. Damaged, unusual or glass mounts need individual assessment.
Can I scan slides with an ordinary printer scanner?
Only if it has film scanning capability and a compatible holder or adapter. A scanner designed only for paper uses reflected light, while film needs light passing through it. For paper prints, see our quick guide to scanning photos at home.
What resolution is best for scanning 35mm slides?
Test 2400 and 3200 ppi on a few slides and compare the detail. At 3200 ppi a 35mm frame gives about 4535 × 3024 pixels, enough for most screens and moderate enlargements. Higher settings only help if your scanner and the original slide hold that much detail.
Can a mirrored scan be fixed?
Yes. A horizontal flip corrects left and right reversal. Check a reliable visual reference first, such as lettering in the scene. Flipping does not fix focus, colour or exposure problems.
Should I save slide scans as JPEG or TIFF?
Keep a TIFF master if you want a lossless version for later editing, and make JPEG copies for sharing. A TIFF is not automatically an untouched scan: it can already include colour and tone adjustments made by the software.
Can faded slides be restored?
Often some improvement is possible, but the result depends on what remains in the film. Keep the first capture and avoid assuming that missing information can always be recovered faithfully.
Do I need gloves to handle slides?
Clean, lint-free gloves help, but the key is holding each slide by the edges of its mount and never touching the film. Work on a clean, dry surface.
Should I throw away slides after digitising them?
Keep sound originals where possible. A future scan may improve on today's, and the slide is the original record. Store slides upright in a cool, dry, dark place, keep backups of the digital copies, and see our old photo preservation tips.
Slide digitising in Perth
Digitising a collection involves more than producing files. Keeping its order, checking every image and recording what it shows makes the result easier to use and pass on.
If you would rather hand the job over, Yesterday's Photo® provides slide digitising in Perth for family collections, with slides posted from anywhere in Australia. We handle every slide one at a time on professional film scanning equipment, at 3200 dpi in 48-bit colour, with higher resolutions available on request. You receive an untouched archival scan plus a colour-optimised copy of each slide. Our price guide lists slide digitising costs.
For film strips, read how to scan negatives at home, including the holder turnover step that makes orientation advice confusing. We also digitise old photo prints and offer other photo scanning services.
Related guides
Sources
Written by Ale, Yesterday's Photo®, who digitises and restores family photographs in Perth. Last reviewed November 2026.
General information only. Before you try anything on an original, request a free damage assessment.