The correct side for scanning negatives depends on your scanner and film holder. On common Epson flatbed film scanners, the shiny base faces down in the final scanning position. Some holders, such as the Epson V850's 35mm holder, are loaded shiny side up and then turned over, so follow the complete loading sequence, not just the first instruction.
Old negatives can hold photographs that never made it into an album. Scanning them lets you see those images again, but film orientation is only the beginning. The right holder, careful preparation and a proper negative conversion all affect the finished result.
This guide explains the process in plain language, including the equipment difference behind most of the "shiny side up or down?" confusion.
How to scan negatives: the short version
- Identify the format and film type: 35mm or larger, colour or black and white.
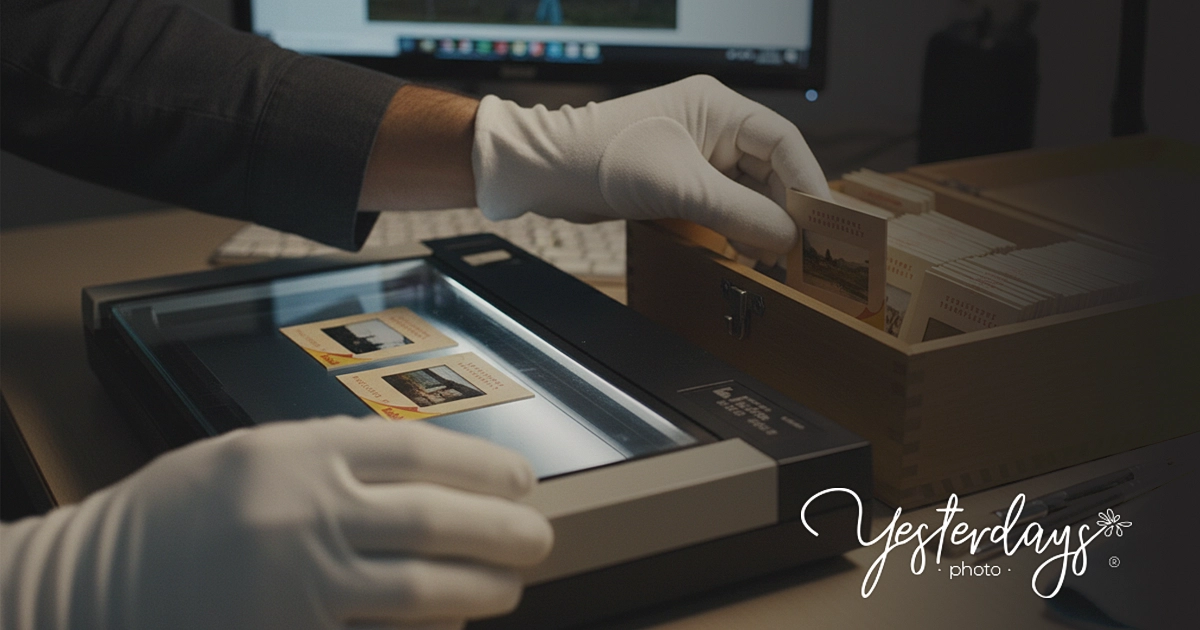
- Handle film by its edges with clean gloves, and blow off loose dust with a photographic hand blower.
- Find the shiny base side and the duller emulsion side.
- Load the holder following its full sequence, including any step where you turn the holder over.
- Choose film mode and colour negative or black and white negative.
- Test 2400 and 3200 ppi and save a TIFF master.
- Check one full scan for colour, crop and direction before scanning the rest.
Understand what you are scanning
A negative records tones in reverse: bright parts of the scene appear dark, and dark parts appear light. Colour negatives also have an orange base and need colour conversion. Black and white negatives need a different treatment.

Identify the format before choosing a holder. Small 35mm strips, larger roll film and individual sheets each need different support. Do not cut unfamiliar material simply to make it fit an unsuitable accessory.
Keep any original envelopes, labels and matching prints. They may hold the only information about the people, date or place in the photographs.
How to identify the emulsion side of a negative
The base side usually looks glossy and smooth. The emulsion side, which carries the image-forming layers, often looks duller or shows a faint texture when you tilt it under a soft light.
Handle film by its edges with clean, lint-free gloves and keep fingers off the image area. Do not rub or scratch the surfaces to identify them. Some films make the difference hard to see, so use your equipment's loading diagram as the final reference.
Edge lettering, the frame numbers and film name printed along the strip, can help you follow a particular holder's instructions. There is no universal rule that every scanner must be loaded with that lettering readable from above.
Shiny side up or down? Why instructions differ
The loading position and the scanning position are not always the same. Here is how three common setups compare:
- Epson V600, original 35mm holder: load the film shiny side down. It stays that way for scanning.
- Epson V800/V850, original 35mm holder: load the film shiny side up, close the covers, then turn the holder over before placing it on the scanner. In the scanning position the shiny side faces down.
- Other scanners and replacement holders: follow their own diagrams and complete loading sequence.
The V800/V850 example is a difference in handling, not evidence that negatives and slides face opposite directions during scanning. Advice that leaves out the turnover step is misleading.
Dedicated film scanners and camera copying setups may describe orientation relative to the lens or feeder instead of the glass. Do not transfer a flatbed instruction to another design without checking.
Should negatives touch the scanner glass?
No, not in the normal workflow. Use the designated film holder: it supports the film in the intended position and helps keep it flat.
Putting film directly on smooth glass can cause Newton rings, rainbow-like interference patterns caused by close contact between two surfaces. It can also move the film away from the height the scanner is focused on.
Some equipment supports a separate film area guide or a specialist mounting method. Those are distinct workflows, not reasons to skip the holder for routine scanning.
Prepare your negatives before scanning
Work with a manageable group of strips and keep them in order. Give each roll and frame a stable identifier, such as Roll008_Frame12, before adding descriptions.
For sound film, remove loose dust gently with a clean photographic hand blower. Do not wipe across grit or use household cleaners. Stop if film is sticky, brittle, mouldy or stuck to its sleeve. A vinegar smell with curling or distortion can indicate acetate deterioration (often called vinegar syndrome); seek conservation advice rather than forcing the film flat.
Test a few representative frames first: a face, fine detail, a bright scene and a darker image. If several film types are present, test each one rather than assuming one colour correction will suit the whole collection.
Choose negative scanning settings that match the film
Select film or transparency mode, then colour negative or black and white negative. Software names vary, but a paper photograph setting is not a substitute for the correct film mode.
- Film type: match colour negative or black and white negative material.
- Resolution: match the frame size, the output you want and the detail your equipment can capture.
- Master file: TIFF, uncompressed or with lossless compression.
- Sharing copy: JPEG copies exported from the edited master.
- Colour and contrast: check individual frames before applying one adjustment to a batch.
- Dust removal: confirm it is compatible with your film material.
What resolution should you scan 35mm negatives at?
For 35mm negatives on a capable scanner, compare test captures at 2400 and 3200 ppi at original size, then choose based on the result rather than assuming the largest number is best. Scanner software often calls this setting dpi.
A nominal 36 × 24 mm frame at 2400 ppi gives about 3402 × 2268 pixels before cropping. At 3200 ppi it gives about 4535 × 3024 pixels. Larger film produces more pixels at the same setting because the image area is bigger. These figures describe dimensions, not guaranteed detail.
Why colour negatives need more than an "invert" command
Reversing light and dark is only part of converting a colour negative. The orange base, the exposure and the way each film responds to light all affect the result. A simple inversion usually leaves a strong colour cast or flat tones.
For a straightforward home workflow, let suitable scanning software convert the negative, then refine colour and contrast on a saved copy. More advanced methods keep an unconverted capture for later processing, but those files need clear labels and a proper conversion workflow.
Do not mix converted and unconverted files without labelling them. A useful archive should make sense to someone who did not do the scanning.
Check the crop, direction and image quality
Automatic frame detection can struggle with uneven spacing, very dark frames or panoramic photographs. Select the frame manually when the software finds the wrong edges.
For automatic conversion, avoid including large areas of blank film or sprocket holes in the selection unless your workflow is designed for it, because they can throw off the exposure and colour. If you want the full border, test a method that keeps the border out of the colour assessment.
Inspect one full-resolution saved scan. Look for fine detail, believable skin tones, information in bright and dark areas, dust and crop errors. Compare it with a matching print if you have one, allowing for the print's own fading or cropping.
Use lettering within the photographed scene, or another reliable reference, to spot a mirrored image. A horizontal flip fixes left and right reversal. It will not repair a soft scan or an inaccurate conversion.
Common negative scanning problems
The image is orange or its tones are reversed
Check that negative conversion is turned on and the correct film type is selected. An unconverted file can be intentional, but it is not a finished photograph.
The centre is sharper than the edges
Check how the film sits in the holder and whether it is curved. A bowed strip may sit unevenly at the scanning position. Do not force brittle film into a holder or use heat to flatten it.
Dust removal creates marks or damages detail
Compare a scan with the feature switched off. Infrared dust removal depends on the film material. Traditional silver-based black and white negatives are not the same as chromogenic (C-41) monochrome film: Epson's DIGITAL ICE list, for example, includes chromogenic monochrome negatives but not conventional silver-based black and white negatives.
Every frame has the same colour cast
Review the film type and conversion settings before correcting each image separately. A shared setup problem is easier to solve at capture than through repeated edits.
Frequently asked questions about scanning negatives
Is the emulsion side always supposed to face up?
No. Follow the instructions for your scanner and holder. The position you use while inserting the film may change when the holder is turned over or placed in the scanner.
Why do my scanned negatives look orange?
Colour negative film has an orange base. If the scanner is set to positive film or no conversion is applied, that orange colour stays in the file. Select colour negative mode, or convert the scan with software designed for negatives.
Can I scan negatives on a normal document scanner?
Only if it supports film scanning, with a transparency light source and a suitable holder. Film needs light passing through it, not just light reflecting off the front.
What resolution is best for scanning 35mm negatives?
Test 2400 and 3200 ppi and compare the detail. At 3200 ppi a 35mm frame gives about 4535 × 3024 pixels. Go higher only if your scanner and the negative genuinely hold more detail.
Can I scan negatives through their sleeves?
For detailed scanning, carefully remove sound film and use the proper holder. Sleeves add surfaces that can introduce marks, dust or reflections. Do not pull film out if it is stuck.
Is it better to scan the negative or the print?
A sound negative may hold detail missing from a small, cropped or faded print. Condition and scan quality still matter, so test both when the photograph is important and you have both. Our photo print scanning page covers prints.
Can I use my phone to digitise negatives?
A phone with suitable backlighting and a conversion app can help you identify frames. Detailed copying also needs stable alignment, close focus and even lighting. Judge the result against how you will use it before making it your only digital version.
Can damaged negatives be restored?
Some visible damage can be reduced digitally after scanning. Keep the original capture and edit a separate version. Restoration cannot always reconstruct missing information faithfully. See our photo restoration service for damaged images.
Do I still need the negatives after scanning?
Keep sound originals where practical, in suitable photographic sleeves, and back up the digital files. Deteriorating film may need specialist storage advice. Our old photo preservation tips cover storage basics.
Negative digitising in Perth
An organised negative collection can reconnect photographs with the names, places and dates that became separated from their prints. The goal is a usable archive, not just a folder of unidentified images.
If you would rather hand the job over, Yesterday's Photo® offers negative digitising in Perth, with collections posted from anywhere in Australia. Every strip is handled by hand on professional film scanning equipment. The service page explains how we preserve a family collection digitally, and our photo scanning services cover prints and slides too.
For images in cardboard or plastic mounts, see our slide scanning service.
Related guides
Sources
- Epson Perfection V600: placing film
- Epson Perfection V800/V850: placing film strips and turning the holder over
- Epson: film holders and Newton rings
- Epson: scanning mode and film type
- Epson: DIGITAL ICE film compatibility
- US National Archives: film-based negatives and positives
- National Archives of Australia: preserving photographs
Written by Ale, Yesterday's Photo®, who digitises and restores family photographs in Perth. Last reviewed November 2026.
General information only. Before you try anything on an original, request a free damage assessment.