To clean old photos before scanning, remove loose dust only. Hold each print by its edges, lift dust with a photographic hand blower and a soft, clean brush, and clean the scanner glass separately. Never use water, wipes, sprays or erasers on the photo itself. If a print is mouldy, sticky, flaking or stuck to glass, stop and have it assessed first.
Scanning magnifies everything on the surface of a print. A speck you can barely see becomes an obvious white spot at 600 dpi. So a little careful preparation saves hours of digital retouching later.
However, cleaning is also the moment an old photo is most at risk. The safest approach is to do as little as possible, and let the scan and the digital clean-up do the rest. This guide shows you how to clean old photos before scanning without harming them, and when to stop. For the scanning itself, read our tips for scanning photos for restoration.
How to clean old photos before scanning: the short version
- Scan it first if the print is fragile, so you have a safe copy before you touch it.
- Work on a clean, dry table and wear clean nitrile or cotton gloves.
- Hold the print by its edges and never touch the image area.
- Blow off loose dust with a photographic hand blower.
- Brush gently with a soft, clean brush, from the centre outwards.
- Check under angled light and stop as soon as loose dust is gone.
- Clean the scanner glass separately, never the photo with the same cloth.
Before you start: scan it first
If a photo is fragile, cracked or valuable, make a quick scan before you clean anything. That way, you have a safe copy if something goes wrong. In fact, for many prints this first scan is all you need, because loose dust and small specks are easy to remove digitally.
Also, keep the original order of an album or box, and photograph any labels or writing on the back before you move things. Captions and dates are part of the photo's history.
What you need to clean old photos safely
- Clean gloves: nitrile gloves give the best grip; clean cotton gloves also work for sound prints.
- A photographic hand blower: a rubber bulb blower lifts dust without touching the surface.
- A soft, clean brush: a wide, very soft brush used only for photos, never for anything else.
- A microfibre cloth: for the scanner glass only, not for the photos.
- A clean, dry work surface away from food, drinks and open windows.

A hand blower lifts loose dust without touching the print.
Step by step: how to clean old photos before scanning
1. Hold the print by its edges
Pick the photo up by its edges or corners, with gloves on. Skin oils leave fingerprints that can etch into the surface over time, so never touch the image itself. If the print is curled or brittle, support it from underneath with a sheet of clean card.
2. Blow away loose dust
Hold the print at an angle and give it a few puffs with the hand blower. Most loose dust, hair and lint lifts off this way. Don't blow with your mouth, because tiny drops of saliva can mark the emulsion.
3. Brush gently, from the centre out
If dust remains, brush very lightly with the soft brush, from the centre towards the edges. Use single, gentle strokes and lift the brush between them. Don't scrub, and don't press. Grit dragged across the surface is exactly what causes fine scratches.
4. Check under angled light
Tilt the photo under a lamp and look across the surface. Loose dust shows up as bright specks. If something doesn't move with a puff of air or a light brush stroke, leave it. It may be stuck to the emulsion or part of the damage, and digital retouching can remove it safely after scanning.

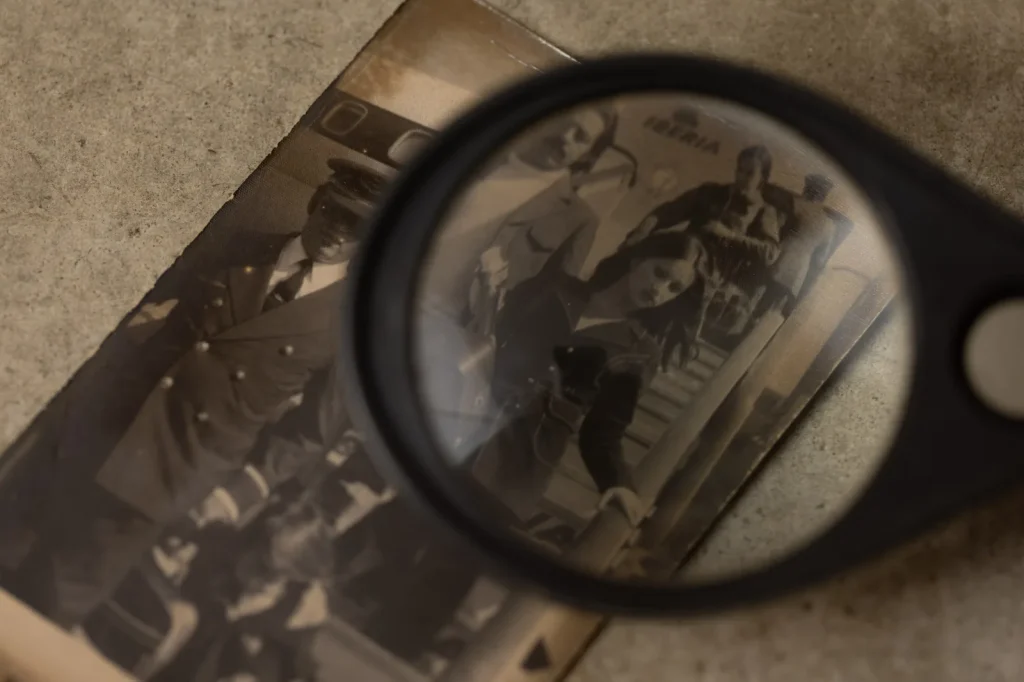
Under a magnifier and low, angled light, every speck of dust on a print shows up. From our own family collection.
5. Stop, and leave the rest to the scan
Once the loose dust is gone, stop. Stains, old fingerprints, marks and scratches are better handled digitally than by rubbing. In fact, our dust and scratches removal service exists because the safest repair happens on the scan, not on the original.
What never to use on an old photo
- Water, damp cloths or baby wipes
- Glass cleaner, alcohol or household cleaning sprays
- Erasers on the image area
- Paper towels or tissues, which can scratch and leave fibres
- Your breath or your fingers
- Canned compressed air held close or tilted, which can spray cold propellant onto the print
Why no water? A photograph's image sits in a layer of gelatin. When it gets wet, the gelatin softens and swells, so it scratches, sticks and lifts very easily. Even a gentle wipe can cause permanent damage.
When to stop and ask a professional
Some photos should not be cleaned at home at all. Stop and get advice if you see:
- Mould, which looks like fuzzy spots or a white or coloured bloom
- Sticky residue, tape or glue on the surface
- Flaking, cracking or lifting emulsion
- A photo stuck to glass, to plastic or to another photo
- Water or fire damage
In these cases, scan the photo as it is, even through the glass of its frame, and ask for help. A free photo damage assessment tells you what can be done before anyone touches it. The Northeast Document Conservation Center also explains the care of photographs in more detail.
Clean the scanner glass as well

A clean photo on dirty glass still gives a dusty scan. So before each session, wipe the glass with a dry microfibre cloth. For smudges, use the cleaner your scanner's maker recommends. Apply a little to the cloth, never directly onto the glass, then let the glass dry fully before you place a photo on it.
Keep this cloth for the glass only. A cloth that has picked up grit from the scanner can scratch a print. Also, check the glass again every few scans, because dust settles quickly. Our guide to scanning photos at home covers the right settings once everything is clean.
Different originals need different care
Paper prints
Most family prints can take a hand blower and a soft brush. However, glossy prints show every speck, and matte or textured prints can trap dust in their surface. In either case, stop at loose dust. For prints with a strong paper texture, a scanning trick can help; read how to remove paper texture from old photos.
Negatives and slides
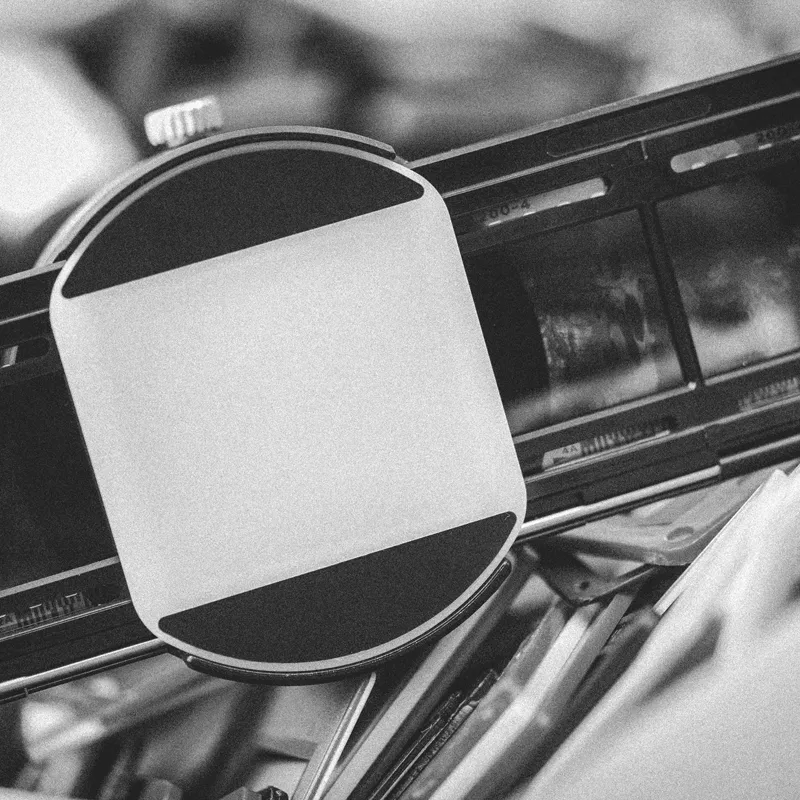
Handle film by its edges or by the slide mount, and use only a hand blower. Film scratches easily, and fingerprints on film are hard to remove. Our negative scanning and slide scanning services handle this for you.
Daguerreotypes, tintypes and glass plates
Don't clean these at all. A daguerreotype's image sits on a polished silver surface that can be wiped away by a single touch, and glass plates break easily. Scan or photograph them as they are, and ask a conservator before doing anything else.
Frequently asked questions about cleaning old photos
Can I use a damp cloth to clean an old photo?
No. Water softens the gelatin layer that holds the image, so even a slightly damp cloth can smear, scratch or lift it. Remove loose dust dry, and leave stains and marks for digital restoration.
Can I wipe a photo with a microfibre cloth?
It's not a good idea. Wiping drags any grit across the surface and can cause fine scratches. Use a hand blower and a soft brush on photos, and keep the microfibre cloth for the scanner glass.
Should I wear cotton or nitrile gloves?
Either works if they are clean. Nitrile gloves give a better grip and don't leave fibres, so many conservators prefer them. Whichever you use, still hold photos by their edges.
How do I remove fingerprints from an old photo?
Don't try to rub them off. Old fingerprints are often etched into the surface, and rubbing adds scratches. Instead, scan the photo and remove the marks digitally.
How clean does a photo need to be before scanning?
Clean enough that nothing moves when you blow on it or brush it lightly. Anything that stays put is better handled in the digital clean-up after scanning.
Can I clean a photo that is stuck to glass?
No. Leave it attached, scan it through the glass, and get professional advice before anyone tries to separate it. Water and heat often make it worse.
Photo scanning and cleaning in Perth

If you would rather not risk it, we can prepare and scan your photos for you. At Yesterday's Photo®, every print is handled by hand in our Woodlands studio, cleaned only as far as is safe, and scanned on professional equipment at archival resolution.
Damaged prints get a free damage assessment before any work begins. See our old photo scanning service, or check the price guide.
Related guides
Sources
Written by Ale, Yesterday's Photo®, who digitises and restores family photographs in Perth. Last reviewed November 2026.